4 Comments

Keeping a Sheen On My Lido 14

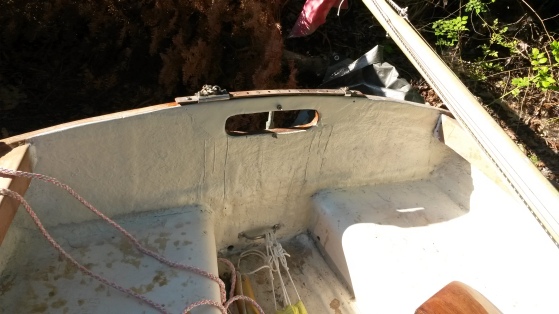
20150519_175708

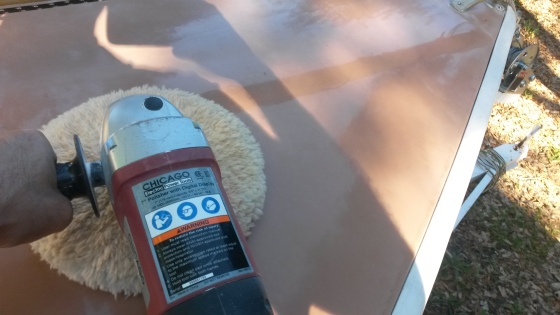
If your Lido is as old as mine is it can be very challenging to keep it shiny. Most Lido 14 sailboats (unless they have been repainted) have a gel coat finish. Gel coat is a pigmented Polyester resin not a paint. It is sprayed into the original boat mold before the fiberglass is applied. Because it is not a paint, it requires a different process to be maintained. Special compounds are used to remove the oxidization that dulls the finish. You can usually find it at your local marine store. Using a polisher with a wool pad, then a synthetic pad work the compound until the oxidization is removed.

Preparing to paint

Preparing to paint.

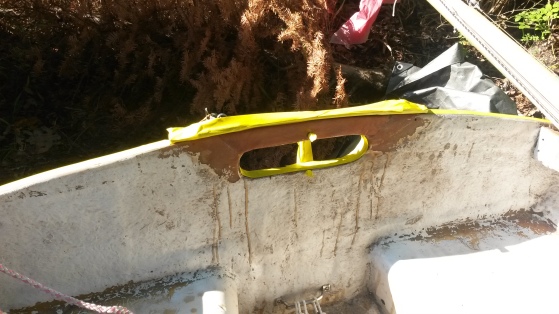
After polishing I decided take care of some unfinished business on the transom. A little scuffing, some tape and I’m ready to paint.

Painted and ready to go!

Painted and ready to go!

Happy Sailing!

2 Comments

Launching a Lido 14

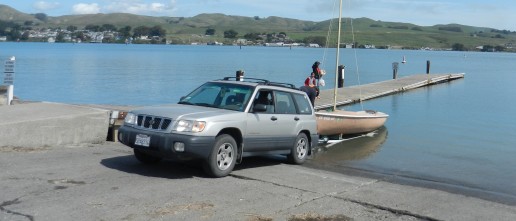
DSCN2506

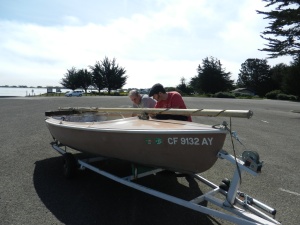
For anyone who hasn’t launched a boat, backing a boat and trailer down a ramp toward the water can be extremely intimidating. The first thing you want to do is find a large empty parking lot and work on your backing skills.

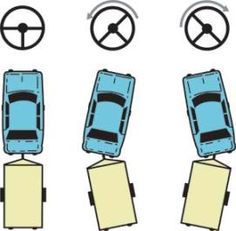
Basics of backing a trailer

Basics of backing a trailer

In general, turning the steering wheel to the left cuts the trailer right. Turning to the right will straighten it back out then if you continue it will cut left. First, practice keeping the trailer straight while going in reverse. Next, practice backing the trailer into a parking space from different angles to get the feel for how to back into a tight space. It may take a while to get these skills down but, when you start backing your boat down toward the water you will appreciate the practice.Balance on the tongue of the trailer Balance on the tongue of the trailer

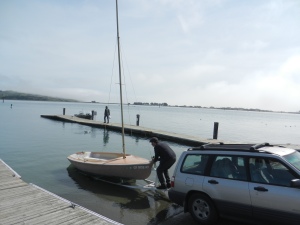
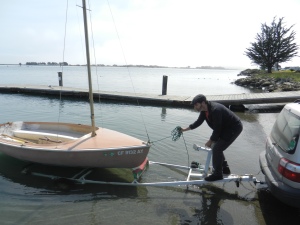
Before you back your boat down to the water, you will want to raise your mast. Once the mast is raised, be aware of any telephone, electrical or any other wires or obstructions your mast might hit in the boat ramp area. Make sure the back of the boat is not strapped or tied down.Push the boat out while holding on to the painterPush the boat out while holding on to the painter

Once you get the boat backed down the ramp the question becomes how far does the trailer need to go into the water. The answer is, as soon as you see the back of the the boat start to rise and float you can pull the parking break and put the car in park.

Standing on the tongue of the trailer loosen the winch and tie a rope known as the “painter” to the front of the boat.

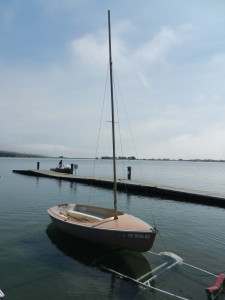
Shove the boat out into deeper water while holding on to the end of the painter. Climb over onto the dock and guide the boat over so that the front points into the wind. Now your ready to raise your sails!

Happy Sailing!

Happy Sailing!

1 Comment

Towing a Lido 14

DSCN2499

This week I thought I would talk a little bit about towing a small sailboat. The first thing I would recommend is to buy a trailer jack, if your trailer doesn’t already have one. They are cheap, easy to install and can save your back!
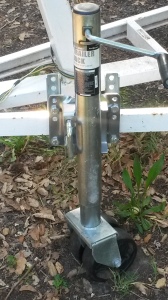
Trailer  Jack

Trailer Jack

The Trailer Jack really helps in positioning the Trailer Coupler (the front of the trailer that connects to the car) over the Trailer Ball (Part of the cars’ Hitch that connects the trailer to the car.
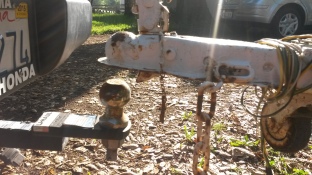
Trailer Coupler  positioned over the Trailer Ball

Trailer Coupler positioned over the Trailer Ball

You must make sure the coupler is in the “open” position (with the latch lever up) before lowering it onto the ball. It is critical that you have the right size ball.

After lowering the trailer onto the ball, you need to close the coupler lever and insert the locking pin. Next, attach your safety chain.
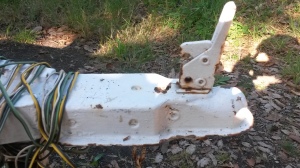
Coupler in the "open" position

Coupler in the “open” position

The safety chain is a mandatory precaution in case the coupler latch fails or is not properly latched.

Next, the electrical needs to be attached by the connecting the plugs.
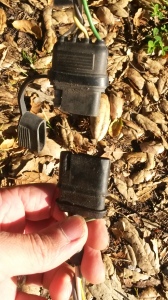
Electrical connections

Electrical connections

It is important to check the taillights by having someone in the driver seat turning the headlights on, using the turn signals and pressing the brake pedal.
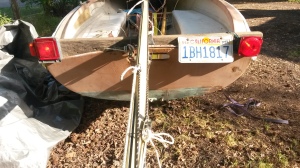
Always do a taillight check

Always do a taillight check

Next, check to make sure the front of the boat is winched all the way forward and the  back is tied down to prevent it shifting when you go over bumps.

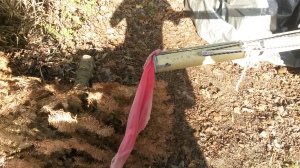
The last thing you do is check tire pressure and tie a red cloth to the end of the mast to alert any following vehicle that the mast extends behind the car.
Happy Sailing!
Happy Sailing!

1 Comment

Exploring Sea Life in a Lido 14

Thanks to conservation efforts and the Bodega Marine Lab there are beautiful and diverse populations of sea life in and around Bodega Bay. About a month ago I took my Lido 14 out to enjoy a day with my brother at Doran Beach. We sailed out the channel between the jetties and brought it into the beach. When we got there my niece, nephew, and sister in-law were all excited that something had been following my boat. Dolphins! “No way!” I exclaimed. Sure enough I looked out and saw one roll. I’ve been sailing out here my whole life and never seen a dolphin in Bodega Bay. I tried to capture one in a photo but they were much to elusive. I guess I just have to be satisfied with the memory.

Then about two weeks ago I was out sailing up the channel to do a blog post on tacking upwind and I saw a whole bunch of seals on the sand bar, so took some video on my phone. The seals barely noticed me as I came within a few feet of them.

Other common animals to be seen include, Sea Lions, Eagle rays, skates, jellyfish, various species of fish, crabs and birds. So get out there and check it out!

Happy Sailing!

3 Comments

Tacking Upwind in a Lido 14

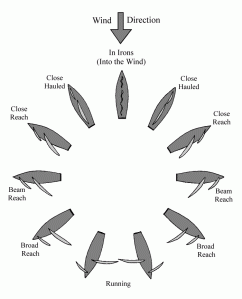
If you have ever ridden in a sailboat you might know that it is not possible to sail directly into the wind. In this post I’ll be discussing the various points of sail, and how they help sailors get to where they want to go.

The points of sail

The points of sail


Creative Commons License
This work is licensed under a Creative Commons Attribution-ShareAlike 3.0 Unported License.

For the most part it is a good idea to raise the sails with the boat “In the Irons” or with the front of the boat pointed directly into the wind. This allows the sails to be raised with the wind flowing along each side without filling them with wind.

Sometimes when you leave the dock you will need to sail “off the wind” or with the wind behind you to get to where you want to go these points of sail are known as a “Broad Reach” or “Running” if the wind comes directly from behind. Other times you may have to sail upwind on a “Close Reach” or “Close Hauled” sailing as close to the wind as possible. The easiest point of sail is a “Beam Reach” or sailing perpendicular to the wind, because you only need to sail on the same point in the opposite direction to return to dock. It all depends on the direction of the wind in relation to your position.

For the purposes of this blog and the YouTube video here i will use the first scenario as an example. When leaving the dock I sailed on a “Broad Reach” to sail up the channel and out into the bay. To return to dock, I needed to make several turns into the wind, known as “Tacks”, after sailing “Close Hauled”, zigzagging my way back. This process is known as “Tacking Upwind” or “Beating to Windward”.

Tacking

Tacking Upwind


Creative Commons License
This work is licensed under a Creative Commons Attribution-ShareAlike 3.0 Unported License.

To Tack the boat I steer the boat into the wind and through the eye of the wind to the next “Close Hauled” course. Though this may seem like a tedious process, it is part of the skill and challenge involved in the tradition of sailboat navigation and strategic sailing competitions.

Happy Sailing!
5 Comments

Down and Dirty with the Details

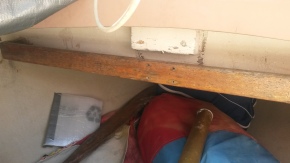
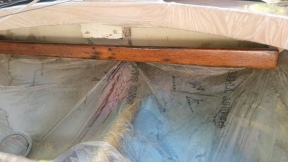
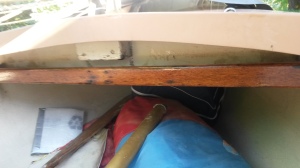
The second post on this blog showed how I removed and restored most of the wooden pieces on my Lido 14. There was however, a piece I have been dreading having to deal with. It’s a little wooden shelf that is in a difficult spot under the deck and it can’t be removed. I decided to take it on this morning.

Little wooden shelf under the deck

     Little wooden shelf under the deck

All masked up with a first coat of resin

     All masked up with a first coat of resin

The first step was to mask off the rest of the boat with plastic so I wouldn’t make a mess all over the sails and rigging. The wind had started up so I really had to tape it down.

Next I had to strip all the old flaking varnish off. This was not as easy as it sounds because of the location. Sanding upside down is never fun.

After I cleaned up the sanding dust it was time to brush on some bonding resin. Brushing on resin upside down isn’t fun either.

All finished

                         All finished

Last I put a coat of finishing resin. I thought I was going to take it out today but the wind came up to much for the Lido. 28mph with gusts over 30 means time to go windsurfing!

Happy Sailing!

                                              Happy Sailing!
2 Comments

A Sailors Best Friend, Knot!

20150407_165709

I would like to start this post by dedicating it to the memory of my brother Matthew Walker.

There are many different kinds of knots that can be useful to the modern sailor. In this post I will be highlighting five that I find to be very useful. Use the links for great “how to” videos.

Bowline at the bow.

                                   Bowline at the bow.

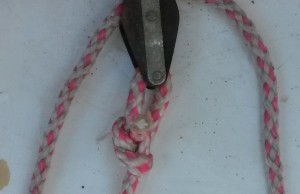
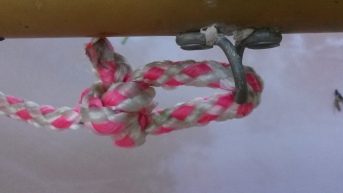
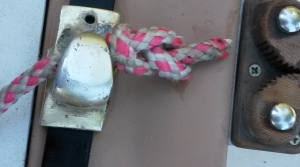
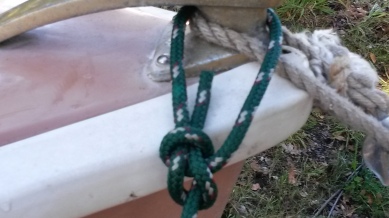
The first is the Bowline knot. Just like it sounds, this knot is commonly used to attach a line to the bow or front of the boat. But it can also be used anywhere that a loop is required in the rigging, tying to pulleys, cleats, and other eyelets. This knot is very easy to tie and untie even after it has been tightened and put under load.

Bowline attached to a pulley.

           Bowline attached to a pulley.

Bowline attached to an eyelet.

                     Bowline attached to an eyelet.

The second is the Figure Eight knot. This knot is used anywhere you need to keep a line from going back through a hole. Fairleads and clamcleats are the most common uses. I use them to keep the jib sheets from pulling back through the fairleads. Again a very easy knot to tie.

Figure Eight on the end of a jib sheet at the fairlead.

Figure Eight on the end of a jib sheet at the fairlead.

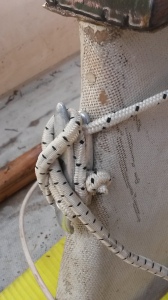
The third knot is the Cleat Hitch. This is the knot used to tie your boat to one of those “T” shaped things on the edges of docks known as cleats. There are several cleats involved in the rigging of a Lido 14 at the base of the mast used to hold the halyards and down hall in place. The Lido also uses one to hold the stretch line which holds the centerboard down. Though this knot takes some time to master it is essential for any sailor.

Cleat hitch on the centerboard stretch line

Cleat hitch on the centerboard stretch line

The fourth knot is the Alpine Butterfly knot. I use this knot to attach the jib sheet to the jib because it is a symmetrical knot that can be tied in the middle of a line and is secure from either end.

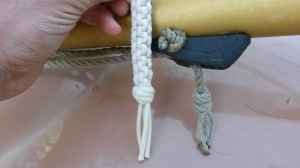
The last knot I will highlight is the Matthew Walker knot. It is a knot that can be used to bind the end of a line that is twisted and not braided or to bind many small lines together. Once tight it is very difficult to get out, it has bulk so use it in place of a Figure Eight where the line is permanent. Though it is rather difficult to figure out it is a handsome knot when done right.

Alpine butterfly knot

Alpine butterfly knot

Matthew Walker knots

              Matthew Walker knots

Happy sailing!
1 Comment

More Video!

Enjoy!

1 Comment

Check out the YouTube Videos!

Enjoy!

1 Comment

Sails, Sheets, Stays and Halyards

It's always a good idea to get the rigging figured out on dry land before the boat gets wet

It’s always a good idea to get the rigging figured out on dry land before the boat gets wet

Rigging a sailboat without having seen it in working condition can be very challenging. Because, although many small  sloops like mine are similar there are at least miner differences in every one. I started by doing as much research as possible both online and at the library. The first step is raising the mast. The mast is held vertical by three lengths of stainless steel cable called stays. The stays must be in excellent condition because there is a lot of pressure put on them by the sails. I noticed that the forward stay, or forestay,  was frayed in several places. I took it down to my local marine store and they were able to fabricate one identical to mine.

The next pieces of rigging that needed to be checked were the halyards. The halyards are lengths of line or cable that are used to hall the sails up the mast. These pieces of line must be small in diameter, low stretch, and very strong. I decided on a 1/4″  Ultra-high-molecular-weight polyethylene also known as spectra line, this will help reduce the need to tension the halyard after its been set.

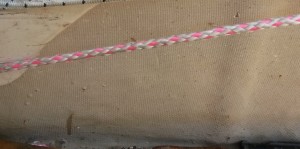
In contrast the sheets or, lines that control the sails, are constantly being tightened and loosened to control the speed of the boat and adjust to the direction of the wind in relation to the boat. For this reason a softer line is best and stretch is less of a factor so I used 3/8″diamond braid.

3/8" diamond braid line

3/8″ diamond braid line.

The final pieces of rigging I needed to check were the sails themselves. I was happy my sails were in pretty good shape. The only issue I had was the plastic window in the jib sail. Fortunately, my wife is a good seamstress and she was able to sew a new window without any problem.

Thank You Wife!

Thank You Wife!